Watermelon Par Design And Video
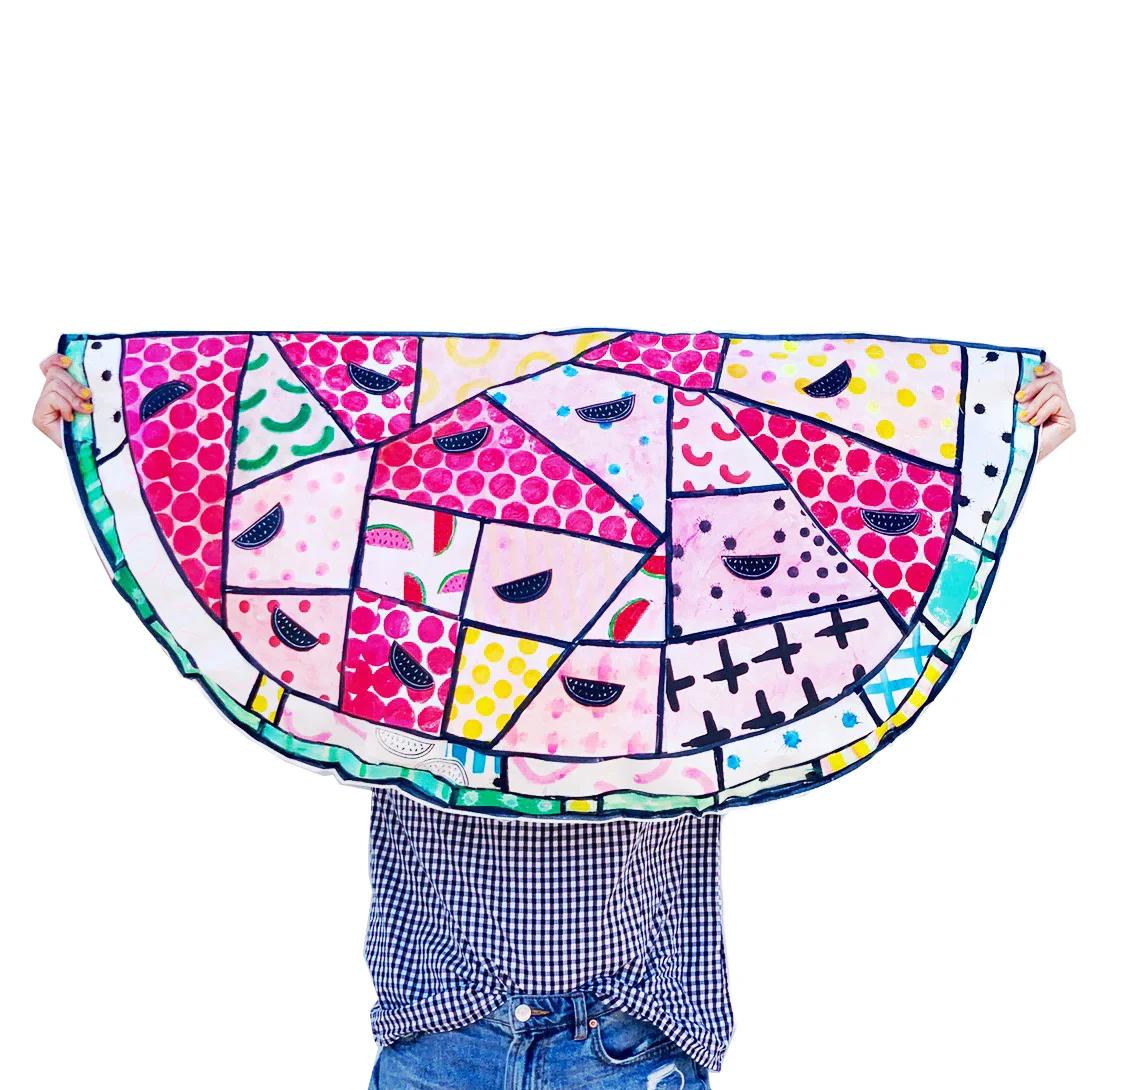
Big Pop Art Watermelon

It is the artists of the world, the feelers and the thinkers who will ultimately save us; who can articulate, educate, defy, insist, sing, and shout big dreams.
-Leonard Bernstein
A couple of years ago the girls and I made a giant stuffed paper pop art apple and ever since then we have toyed with the idea of making another piece of pop art fruit. If you like the look of this project but don't have the time or space to devote to a big stuffed piece of fruit consider making a smaller version or check out our 2-D Pop Art Sunset project.
Large scale, multi-process, collaborative projects are not a part of our everyday but when we get the chance to do one we go all in. This round of pop art fruit-making included a color-wall scavenger hunt, photo shoot, and video trailer thanks to my talented 13 year old! Whoever said the teenage years were hard failed to mention that they are also wonderful and rewarding. Ri gets full co-creator credit for this post from design concept to final video edit (press > below)


Materials:
-
roll of white craft paper
-
colored cardstock
-
bubble wrap (assorted sizes and shapes)
-
foam brush
-
scissors for trimming shapes
-
ruler
-
acrylic or tempera paint
-
dot markers
-
foam sheet
-
hot glue gun
-
wide tip black marker
-
glue stick
-
recycled paper, newspaper, shredded paper, for stuffing
-
pencil with eraser for sketching and dotting

Roll out a big piece of white craft paper. This will become your collaborative canvas. We wanted to go big with our melon so our paper was about 6 feet long!

We used bubble wrap, pencil erasers, foam brushes, bingo daubers, markers, foam stamps, watermelon stamps. If it has a cool shape - go for it!

Print, Stamp, Paint, Draw!! Go crazy with dots and stripes and squiggly goodness. If you want to print on colored paper grab some colored card stock.

Roll out another big section of white craft paper. Fold the white craft paper in half (long way) so that when you cut out your melon shape you will get two (one for the front of your melon and one for the back). Sketch out your melon shape in pencil. Trace over your outline in black marker.

Your thick black marker lines will show through the printed paper allowing you to sketch and trim the designs to fit inside the melon sections:

We collaged in sections, starting with the rind. If you want to go with a patchwork layout like ours you can use a ruler to divide the main section of your watermelon.

When your design is complete you will cut out the watermelon shape and begin to glue the two halves together like a pillow. Think of the melon as a taco. Glue the bottom curve and leave the top open for stuffing. You could absolutely use school glue for this but we used a glue gun because we did not want to wait for it to dry.
We stuffed our watermelon with paper scraps and shredded paper. You can also use newspaper or poly fill. It's basically a paper pillow. When your melon is fully stuffed, seal it with another line of glue at the top.

You don't have to take your watermelon out on the town for a colorful photo shoot but it's a heck of a good time. Be prepared to receive A LOT of smiles and waves.
We can't wait to see your watermelons! @artcampla #artcampla


Watermelon Par Design And Video
Source: https://www.artcampla.com/new-blog/big-pop-art-watermelon
Posted by: lozathatrated.blogspot.com

0 Response to "Watermelon Par Design And Video"
Post a Comment